Receipt options
Who can use this: create location or edit location. Where to find it: Settings > Locations, then edit a location
What is this?
Each location can choose what prints on the receipt. There is no separate menu named Receipt Designer.
CHECK: a receipt designer screen is not in the left menu. Use the location form.
Before you start
The location must already exist. Keep a sample receipt nearby so you can compare.
Steps
-
Open Settings > Locations.
-
Open Action and edit the shop.
-
Find the receipt ticks, such as Show Logo.
-
Tick only what the customer should see.
-
Type Receipt footer note if you want a line at the bottom.
-
Click Save location.
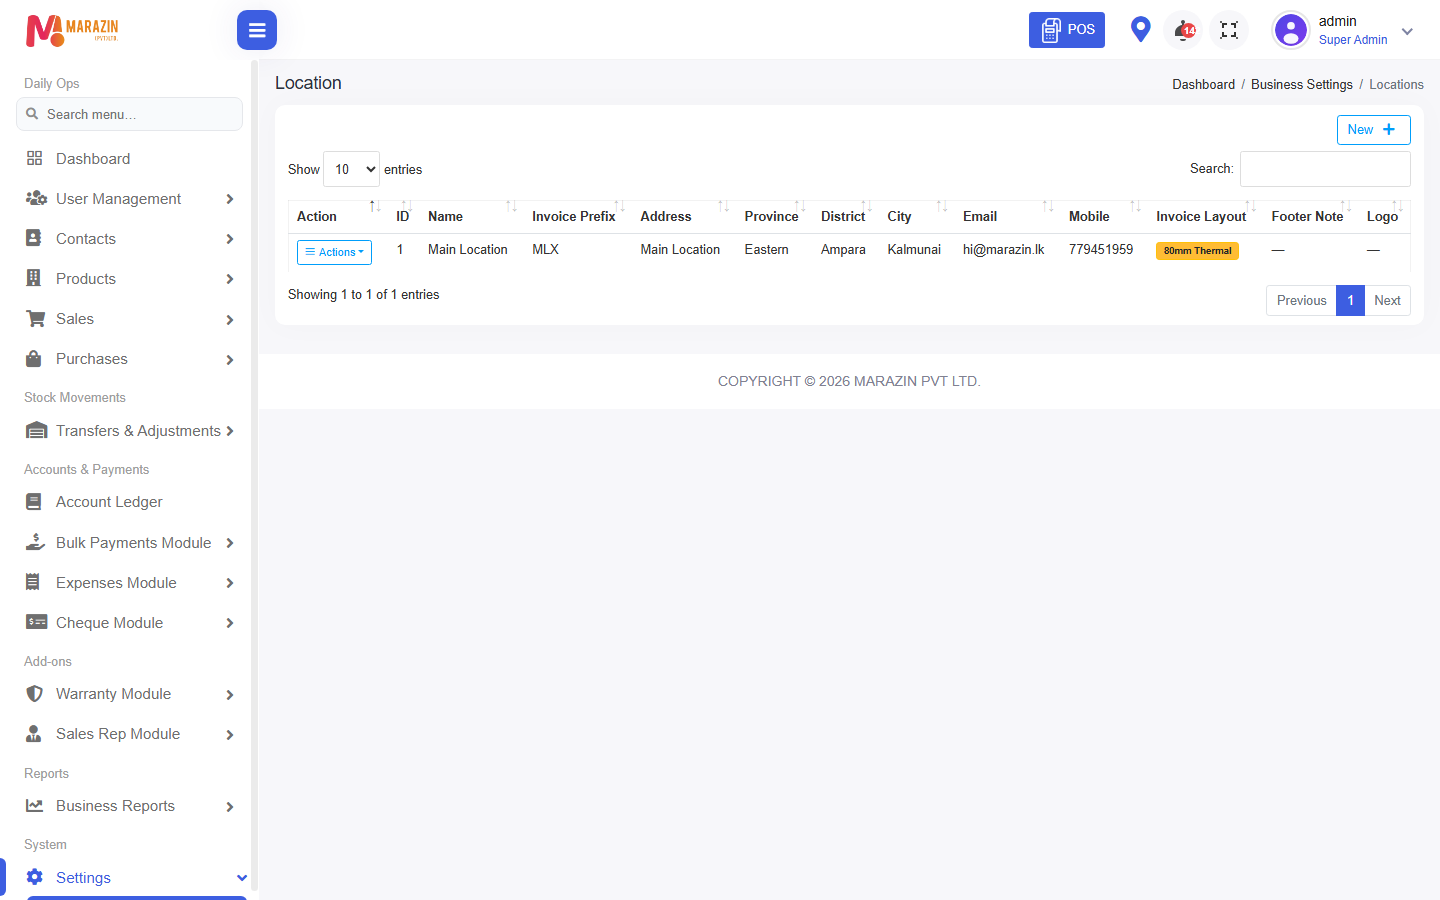
Ticks you may see
| Tick | What it prints |
|---|---|
| Show Logo | The shop logo. |
| Show Customer Phone | The customer phone. |
| Show MRP Strikethrough | The old price with a line through it. |
| Show IMEI Numbers | IMEI lines, when the item has them. |
| Show Discount Details | How the discount was applied. |
| Show Payment Method | Cash, card, or credit. |
| Show Outstanding Due | Money the customer still owes. |
What you will see
The next POS receipt uses these ticks for that location.
Tips
- Print one test bill after you save.
- Leave Receipt footer note blank to keep the usual line.
Common problems
| Problem | Solution |
|---|---|
| The logo is missing | Tick Show Logo, and set a logo on the location. |
| The old receipt still prints | Save the location, then print a new bill. |