Suggested setup order
Who can use this: The shop owner or a Super Admin. Where to find it: Follow the pages below, in this order.
What is this?
Do these steps once, before the first sale. Later guides cover products, customers, and billing.
Before you start
You can sign in. You know the shop name, address, and who will use the counter.
Steps
-
-
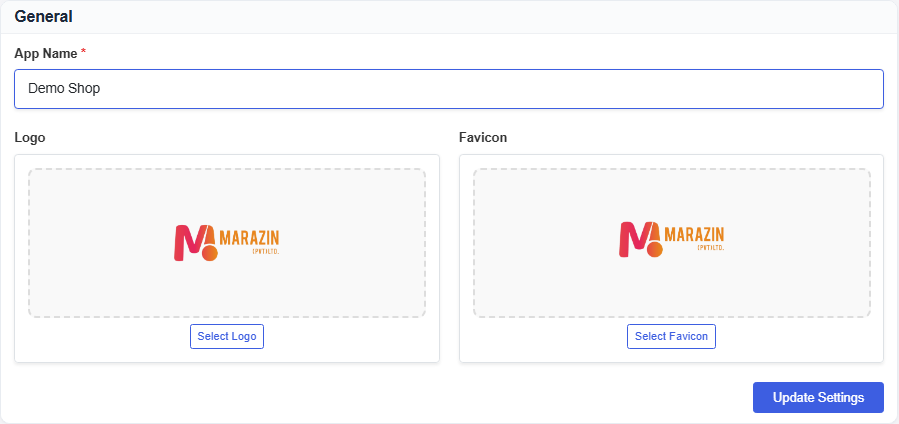
Open Settings > General Settings.
-
Set App Name, then Select Logo, then Update Settings. See Business settings.
-
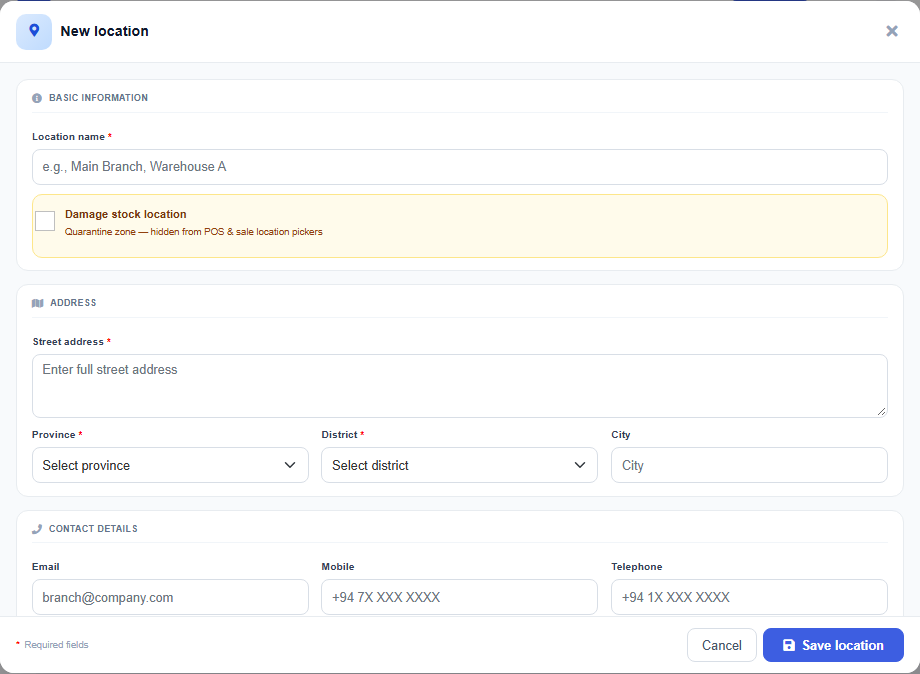
Open Settings > Locations.
-
Click New.
-
Fill every field marked with a red star.
-
Click Save location.
-
Open User Management > Roles.
-
Click Role and save each job name. See Roles.
-
Open User Management > Permissions.
-
Click + New Role & Permissions, tick the boxes, then click Assign. See Permissions.
-
Open User Management > Users.
-
Click New, pick the role and location, then click Save. See Users.
-
Ask each person to sign in once.
-
Leave extra switches under Features off until you need that module.
CHECK: this page does not list every location field. The full location guide comes later. Required stars include Location name, Street address, Province, District, and Invoice prefix.
What you will see
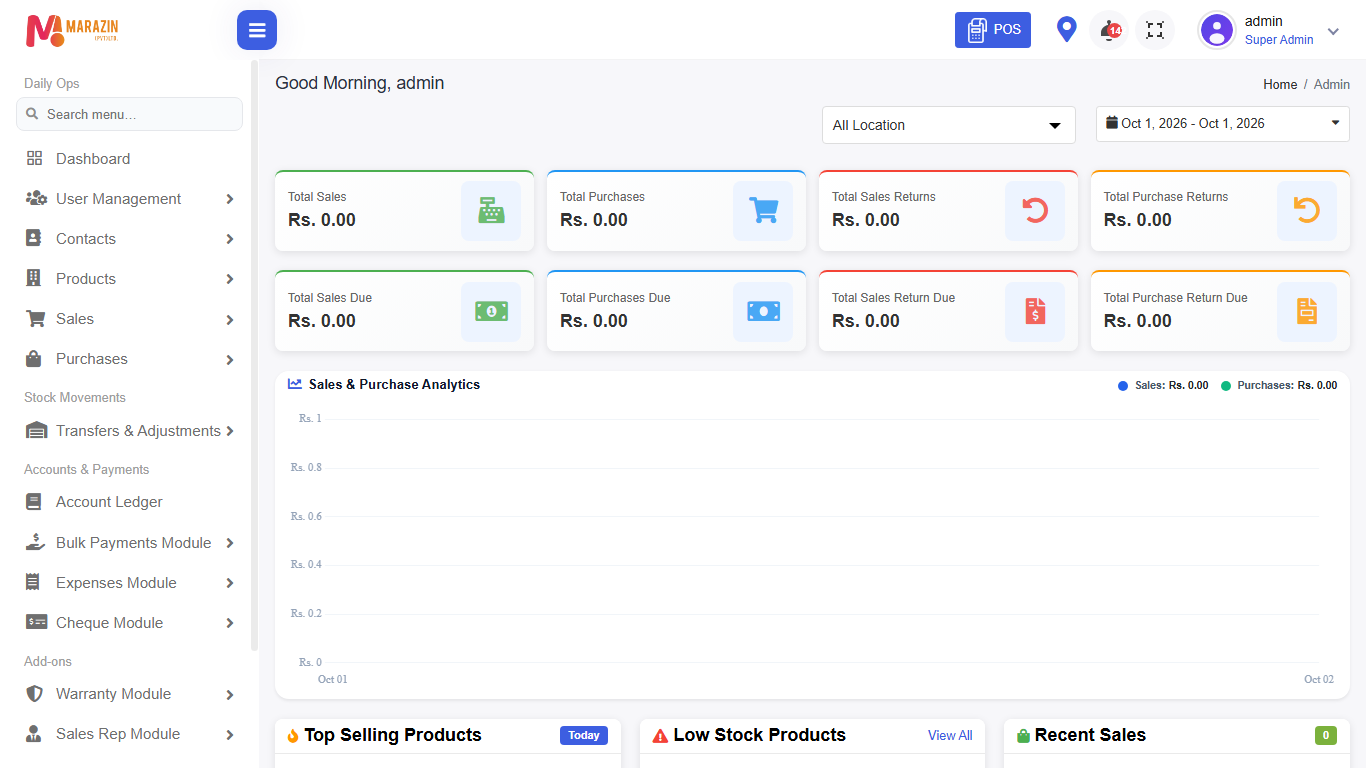
The person can open only the menus you ticked. Dashboard matches their role. POS shows in the top bar only when the role has access pos.
Next, when products are ready
Add units, categories, and products. Add customers and suppliers. Then make a test sale. Those pages are in the next part of this guide.
Tips
- Add the main shop location before you add users.
- Keep Super Admin for the owner.
Common problems
| Problem | Solution |
|---|---|
| You cannot save a user | Add a location and a role first. |
| Staff do not see POS | Tick access pos for their role. |
| The logo did not change | Click Update Settings on General. Refresh the page. |